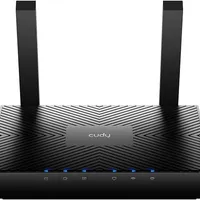
Cudy AX3000 WiFi 6 Router
4.3
(996)
$49.99
One of the strongest ways to protect your whole home network is to set up your Wi‑Fi router to use PureBox. When it is done right, every device that connects through that router—phones, tablets, computers, and the rest—is covered without configuring each one separately.
The problem is that routers rented from internet service providers often do not let you change the DNS settings. When that happens, you can use this work-around:
Then everything in the house uses the settings you control. That is how I run it at my house, and I have also helped several other families set it up just the same way.
Here are two models that should work well with PureBox. I have used the AX3000 for several years now, but while building this page I noticed that Cudy released the BE6500 as their latest-and-greatest. Both will support custom DNS settings, so whichever you choose is up to you.
$49.99
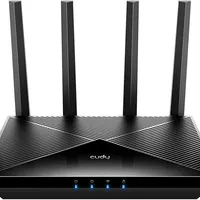
$119.99
I am not affiliated with Amazon and do not receive any income from these links. They are here only to point you toward hardware I trust. Prices and ratings shown are current at the time that I write this.
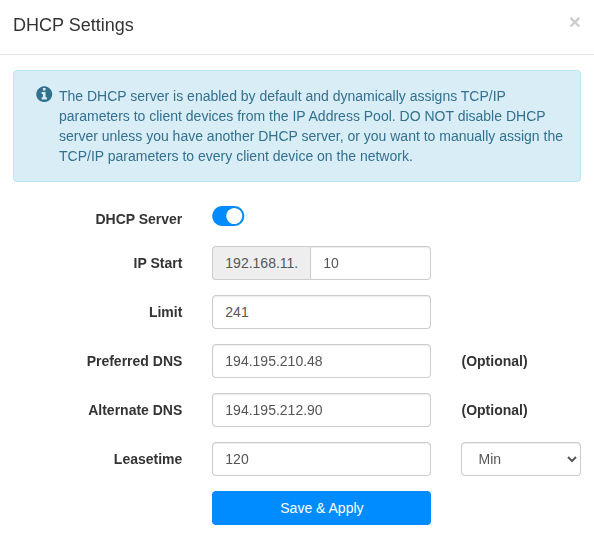
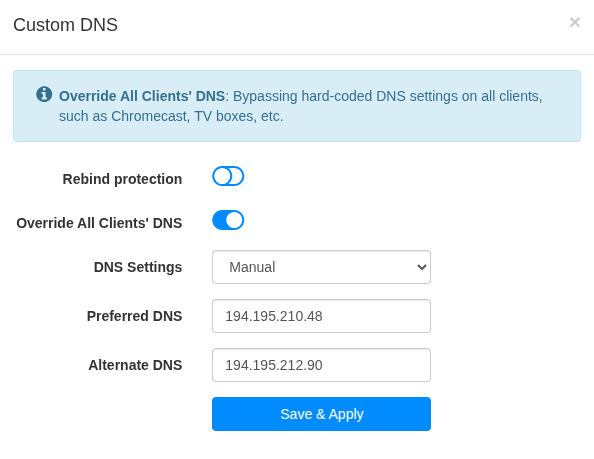
The recommended models above use Cudy’s web dashboard. Finish the first-time Quick Setup wizard first, then pick up here. Other brands will hide these choices under different labels, but you are still aiming for the same two numbers in the DNS fields your router offers.
Preferred DNS
194.195.210.48
Alternate DNS
194.195.212.90
Preferred DNS
194.195.210.48
Alternate DNS
194.195.212.90
After completing the setup steps above, don't forget to test your connection and make sure it is working correctly. Click the button below to see testing instructions.